 Buying a camera is a serious matter. It would seem that something complicated. Choose a trusted manufacturer and the thing is in the hat. However, not all so simple. Even a well-known brand may have punctures. In addition, in our time, you can run into a blatant fake or a camera with a dubious past. Then you can not avoid long trips to service centers and ships. So that from the first days you can enjoy great pictures, it is important to understand how to check the camera when buying.
Content
Homework
Before you go to the electronics store, you should carefully prepare. After all, the seller’s task (even if he claims the opposite) is to offer the potential buyer what is beneficial for the store, and not for someone else. There is a risk of buying obsolete photo equipment or simply stale goods.
So, what needs to be done at home so that choosing a SLR camera in a store is easy? First of all, you need to decide on the model. In a modern world where all information is publicly available, this is easy to do. To do this, just study the reviews of previous customers and reviews from experts. After weighing all the pros and cons, you can already decide which camera is suitable. You may have to spend a single day on this. But the thing costs a lot to buy it in a hurry.
The next step will be the preparatory work for testing the camera in the store. To check its performance, you need to take a number of improvised tools with you. Unfortunately, the store may not be suitable. So, the following things will be required (their purpose can be understood later in the course of the article):
- A laptop or tablet with a good screen resolution.
- Memory card.
- Calibration sheet or lined sheet of paper.
- Blue and red sheet of A4 colored paper.
- Instructions for the selected model (you can download it yourself and learn how to use the basic functions).
In addition, you need to be patient. It will be needed during the testing of the camera upon purchase. After all, the seller will annoy over his ear, exhorting the right choice, and rush all the time. But as you know, haste is important only when catching flies. Choosing expensive equipment, you should give it a little time. If this is not done at the time of purchase, it is possible that you will have to spend it (sometimes even much more) on trips to service centers and courts. This is hardly necessary.
Testing Procedure
So, what should I look for when buying a camera? There is a special algorithm of actions that will help to identify marriage in the store. Most professionals follow him, only they do it pretty quickly. A novice in this business, of course, will take much more time. By the way, if there is such an opportunity, it is better to take your professional to the store. An experienced adviser, who will take on all the ardor of the seller, will definitely not hurt.
The algorithm of the buyer should be as follows:
- Inspection of packaging and photo equipment.
- Testing mechanics.
- Check for broken and hot pixels.
- Checking the focus is correct.
It is important to remember that it takes even an experienced photographer at least 15 minutes. What can we say about the newcomer. Below will be described in detail how to perform each of the steps and what to pay attention to. And one more thing: if the store is denied testing of photographic equipment under any pretext, you should refuse to purchase. An honest seller has nothing to hide, and then the buyer is always right.
Visual inspection
Here the seller brought a box with the coveted camera. But do not rush to open it.It is necessary to carefully examine it from all sides. There should be no dents or scuffs. Their presence may be due to the fact that the box was dropped. It will not be good for a SLR camera. Are there any flaws on the box? Fine. It's time to start the next step.
Now you can examine the body of the camera itself (it is also called the “carcass”) and its accessories. They should all be packaged in individual bags and not have signs of tampering. All parts should be free of fingerprints, dust or dirt. If so, great. Checking the camera in the store can continue. Otherwise, you should ask for a different model.
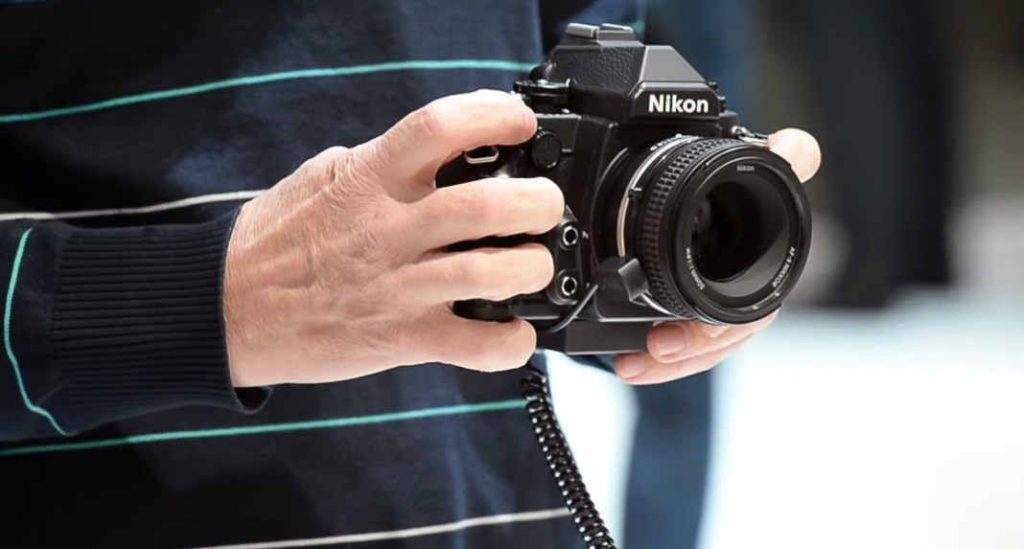
The next step is to check the photographic equipment for authenticity. An indirect sign may be the availability of a warranty card from the manufacturer, and not from the service center. The serial number on it, the camera and the box must match. The “gray” device will not have anything like it. To buy or not to buy such equipment is everyone's personal business. But it is worth remembering that a legally imported camera is less likely to be repaired.
The last thing you need to inspect the lens for defects. No cracks, hairs or blackouts should be visible in the lumen. By the way, if you plan to buy several of them, then you need to check each. In the future, to prove that defects were not obtained during operation is very problematic.
Mechanics check
After the digital camera is well inspected and no defects are detected, you can start checking the operation of all buttons and mechanisms. First you need to assemble the camera: attach the lens to the carcass, install the batteries and take the memory card with you. If it is discharged, charge a little. Then proceed to check all the mechanisms.
During assembly, you can pay attention to the operation of the lens mounting mechanisms and caps. They should open well and not have any backlash. Then you can check the functionality of the remaining buttons. It is advisable to click on several times and evaluate the speed of response. If everything is in order with the camera, you do not need to exert any effort to press.
After that, you need to turn on the camera in automatic mode. How to do this, it is advisable to read the instructions in advance so as not to waste time in the store. Focusing should also be automatic. Then take a few shots of objects or people to evaluate the overall quality of the shot and the operation of the flash. The next step is to set the burst mode and take a few frames as well. Thus, it will be possible to verify the shutter.
The presence of broken and hot pixels
Speaking about how to check the camera before buying, one can not help but mention one of the most common defects - broken and hot pixels. Unfortunately, it’s not so easy to check their availability, and it’s not profitable for the seller to explain this to the buyer. First you need to understand what it is and why their presence can be a real disaster.
Dead pixels are points in the matrix that no longer work. They usually appear in any shooting mode in the form of bright points. If there are a lot of them, then the quality of the photos will leave much to be desired. In addition, their presence may cause destruction of the camera matrix. As a result, the camera will have to be replaced with a newer model.
Unlike broken pixels, hot pixels are noticeable only when shooting with high resolution. A small number of them is permissible (no more than ten). If there are a lot of them or they appear at low resolution, then you should ask for another instance of the selected model.
Testing for the presence of broken and hot pixels is carried out in the following sequence:
- Close the lens cap.
- Turn off auto focus mode.
- Set the minimum ISO value. Usually it is 100.
- Set shutter speed to 3, then to 10 and 60 seconds. Each time to make a new frame.
- When shooting, select the maximum image resolution.
- During viewing, select 100% resolution and view the picture millimeter by millimeter without rushing.
The presence of 1-2 defects is not scary. The matrix of a modern camera has more than a million pixels. If there are more than 10, then the camera should be postponed and testing should begin again with another model.
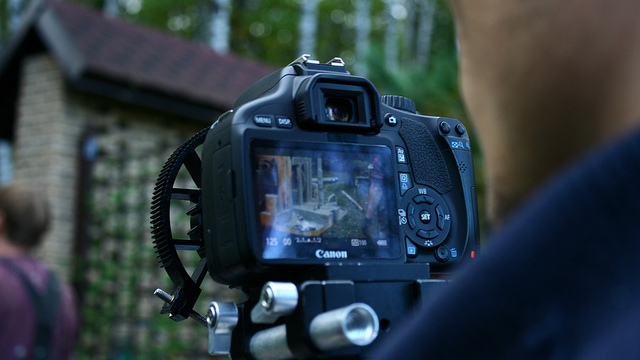
To check for hot pixels, you need to take additional pictures of the white, blue and red sheet so that they occupy its entire area. If all three have a bright dot in the same place, then this is the same hot pixel. Of course, they do not affect the quality of shooting in most modes. However, their presence hurts the eye. Therefore, it is better to buy another instance.
The focus accuracy of the device
For SLR cameras, good optics are very important. It can be checked for mechanical damage during the inspection. But with all other parameters a little more complicated. However, knowing how to check the SLR camera when buying, to cope with this task is much easier.
In fact, you need to check not one parameter, but several. Namely:
- The correctness of the lens and matrix.
- Front focus and back focus.
- Zoom lens operation and color balance.
For any optics, it is characteristic that in the center the image is clearly visible, and at the edges it is blurry. Naturally, this is not a defect. However, there are cases that such blurring is uneven. For example, in one of the corners a “washed out” area appears.
To understand this, you need to take at least 6 pictures: with the maximum and minimum values of the focal length and aperture, as well as a certain average. It is advisable to photograph some distant object. After that, view them with 100% resolution, carefully monitoring the blurring of the image from the center to the edges. The presence of deviations anywhere is an occasion to think about changing the lens or even the camera itself.
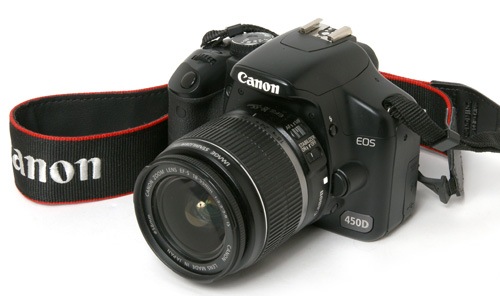
Another phenomenon is characteristic of "DSLRs". This is front focus and back focus. From the point of view of the manufacturer, neither one nor the other is not a defect. However, for the photos to be obtained as needed the first time, you will need to give the camera for additional adjustment to the service center. And this is an extra waste of time and money. Why is this necessary if you can immediately purchase a working camera.
For testing, you will need a special calibration sheet and a tripod. The first is better to take with you. Finding it is easy on any specialized site. It is a set of longitudinal lines, in the center of which is the inscription “Focus here”. A tripod is usually available at a photographic equipment store. There should be no difficulty with this.
Now you need to make the correct camera settings so that the testing is as reliable as possible. Namely:
- Mount the camera on a tripod and fix it at an angle of 45 degrees with respect to the calibration sheet.
- Select AF (single autofocus) mode.
- Disable auto focus and manually adjust to a given point (it is very important not to move the camera so as not to knock down the setting).
- Open the aperture as wide as possible (it is better to use a fast lens).
- Take 5-10 pictures, between them focusing on another remote object.
If the adjustment is correct, then the focus will be located at a strictly specified point. If it is broken, then behind it or in front of it. In the first case, they talk about back focus, in the second - about front focus. It is better to refuse to buy such a camera and ask the seller to bring another copy. It is worth noting that a reliable check can only be done at a service center. In addition, much depends on the skill of the photographer.
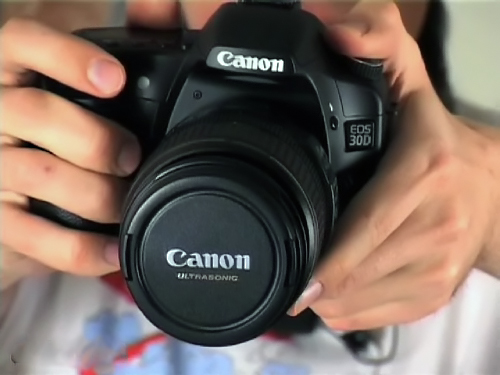
At the very end, you can still check the operation of the zoom lens. This is very easy to do. To do this, scroll the corresponding wheel. If the image changes smoothly when zooming in and out, without jerking, then everything is fine. In this case, no extraneous noise or crunches should be heard.
To finally make sure of your choice, you need to take a couple of shots of different objects and subjectively evaluate for “like-dislike”. Each has its own perception of color reproduction. You need to see if there are too bright objects or, on the contrary, darkened, how realistic color reproduction and the like. Everything suits - so this is exactly the model that you can buy.
In custody
Choosing your first "SLR", do not rush to give all the best a round amount of money. Even the inscriptions of the famous brands "Canon" or "Nikon" do not guarantee 100% quality. In case of doubt, you can and should come and test the camera several times. This can be done for so long until you can finally make sure of the correctness of your choice.


